
- How about winning a flight ticket worth up to US$500?
- Become a member by January 31st and get a chance to win!
Explore the ins and outs of starting a successful mushroom farm with our comprehensive guide. Also learn how to volunteer on mushroom farms to get priceless experience.
10min
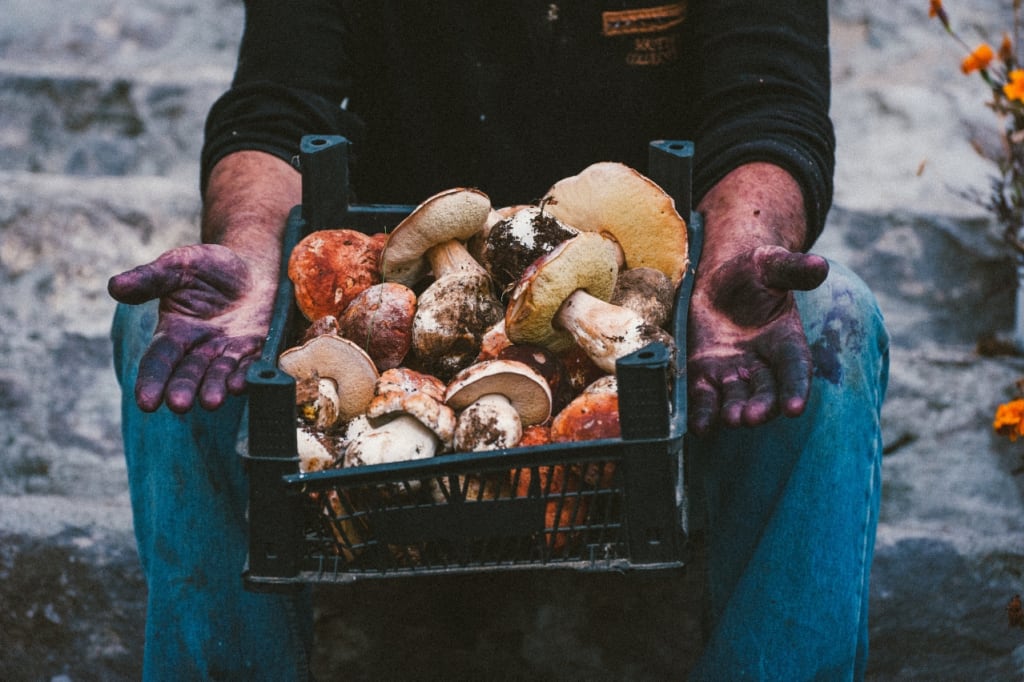
Ever thought about turning a hobby into a profitable venture? Imagine the earthy aroma of freshly grown mushrooms, harvested right from your backyard. Picture yourself as an urban farmer, navigating through the fascinating world of mycology.
No longer just a pipe dream!
This guide will take you on an enlightening journey towards starting your own mushroom farm. From selecting that perfect spot in your garden to picking out intriguing varieties of fungi. You'll learn how to create nutrient-rich substrate, manage optimal growth conditions for your spore-bearing friends and much more.
Ready for this exciting expedition?
Related reading: Organic gardening: a practical guide to a greener home.
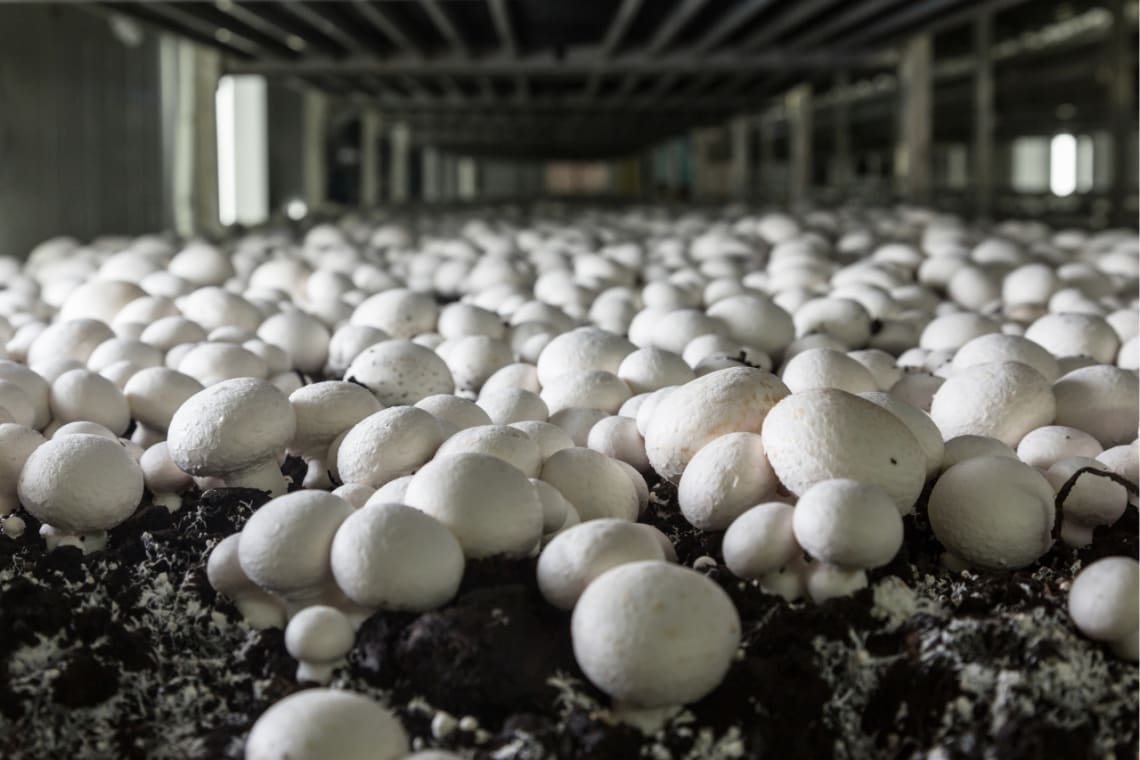
Picking a location for your mushroom farm is more than just pointing at a map. It's about considering essential factors that can affect your crop’s health and yield.
The first thing to think about is climate control. Mushrooms thrive in cool, damp conditions with temperatures between 55-60 degrees Fahrenheit (source). So, if you're starting an outdoor farm in Arizona, well... let's just say mushrooms might not be as thrilled about the desert heat as tourists are.
However, don't despair - there are still options. If Mother Nature isn’t playing ball where you live, don't worry - there are options available. Indoor farming allows you to control temperature and humidity levels better; so even those living under the scorching sun or freezing cold can get into this fun-gi business.
Moving on from weather talk (this isn’t small chat at an elevator), we also need to consider space requirements. The amount of room needed depends on how many mushrooms you plan to grow and which varieties. While some 'shrooms like their personal space, others are happy growing close together – they must enjoy family reunions more than most people do.
If vertical farming tickles your fancy – because let’s face it who doesn’t want their own edible high-rise building? – You'll need tall structures or shelving units allowing multiple layers of crops stacked one above another. This approach is a great space-saver, and you can easily impress friends with your multilevel mushroom metropolis.
Lastly, consider access to resources. Your mushrooms will need water (not too much or they’ll drown), fresh air (but not windy – they're not kite flyers), and darkness. Ensure that the chosen location provides these necessities because without them, your mushrooms might just pack up their tiny spore bags and leave.
In summary, selecting a suitable location for your mushroom farm involves considering climate control, space requirements, and access to necessary resources. Considering these elements, you can create an atmosphere that is perfect for your mushrooms to flourish and give a plentiful yield.
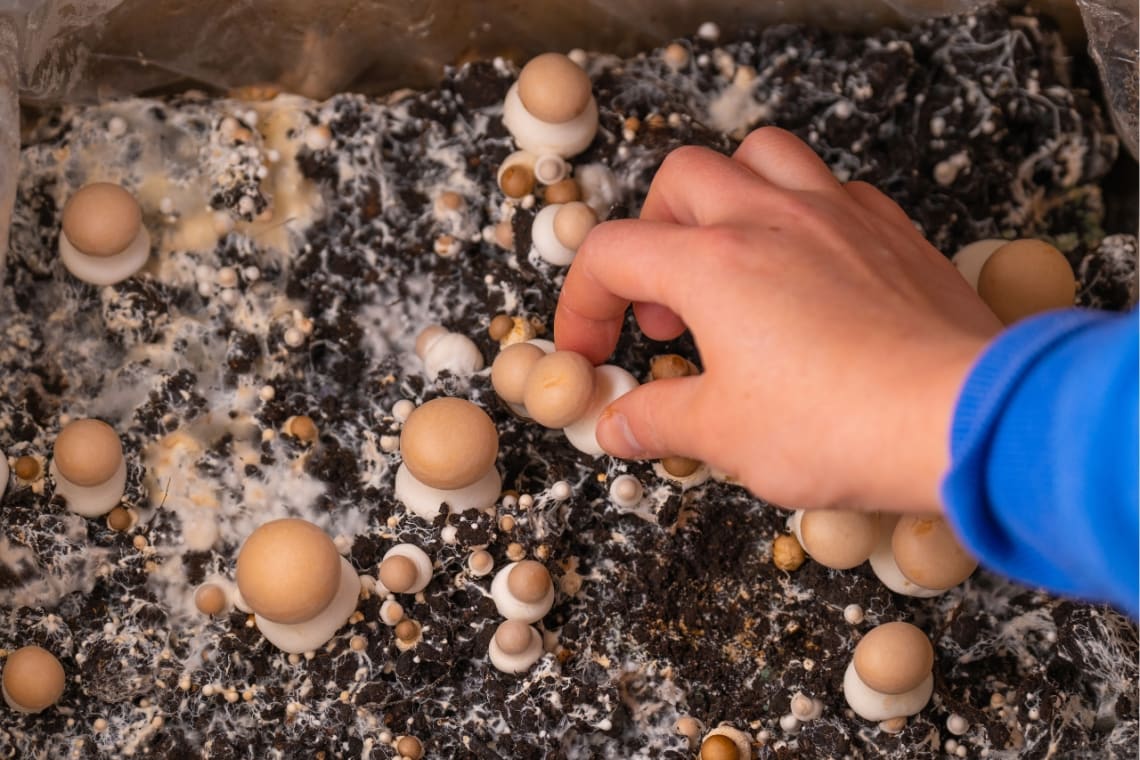
When you're starting your mushroom farm, choosing the right varieties to cultivate is crucial. Not all mushrooms are equal, so careful selection is essential for successful mushroom farming. Some types are more beginner-friendly than others, while some have specific growth conditions or market demands.
Mushroom types can be divided into saprophytic, mycorrhizal and parasitic groups, with the former being more suitable for novice growers due to its low-maintenance requirements. Saprophytic mushrooms are ideal for beginners as they grow on dead organic matter and require less maintenance compared to other categories.
To choose what’s best for your setup consider factors like their preferred substrates - different mushrooms thrive better on certain materials like straw or wood chips; temperature preferences - some favor warmer climates whereas others prefer cooler ones; finally assess market demand – research which species sell well locally so you won't end up with unsold stock.
You don’t need any magic potions or spells to start cultivating mushrooms but just a good dose of patience, the right knowledge, and of course selecting the best varieties for your farm. So roll up those sleeves, get down to earth (literally.) and let’s start this fungi adventure together.
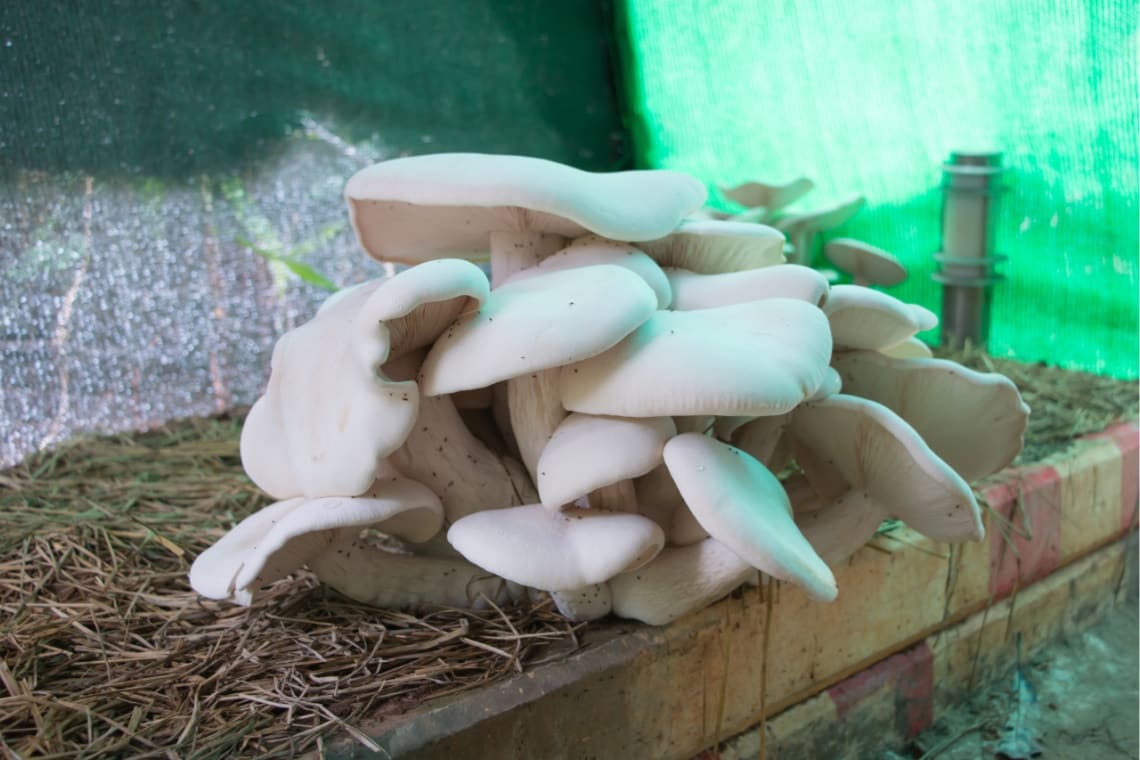
The first step in the process of preparing the substrate is selecting suitable materials. Common choices include straw, wood chips, or compost because these are rich in nutrients that feed your mushroom spores.
You might be wondering why we can't just use soil like most plants? Well, unlike regular plants that extract their food from the soil using roots, mushrooms break down organic material directly through their mycelium - think of it as the 'root' system of fungi.
To start with our preparation process now: chop up whatever material you've chosen into small pieces about 1-3 inches long - don't worry if some bits are bigger or smaller than others though. Just remember: diversity equals stability when growing mushrooms.
Next comes sterilization - an essential part not only because it kills any potential contaminants but also because heat helps breakdown complex molecules making them easier for our little fungal friends to digest. So let's steam cook those substrates. A pressure cooker works best here due to its ability to reach high temperatures reliably and quickly – typically around 250 degrees Fahrenheit (121 Celsius) for at least two hours will do nicely.
If you're worried about doing this right – relax. There’s no need to fear; there are many resources available online to help guide you through this process.
If you don't have a pressure cooker, boiling the substrate in water for an extended period can also work – it's just not as effective.
Finally, let the substrate cool before introducing your mushroom spores or mycelium - otherwise, they'll get cooked too. This stage is like setting the dinner table before inviting guests over: we want everything to be perfect when our mushrooms arrive.
In conclusion, what should we remember? It's all about preparation. Proper planning and groundwork are crucial to success.
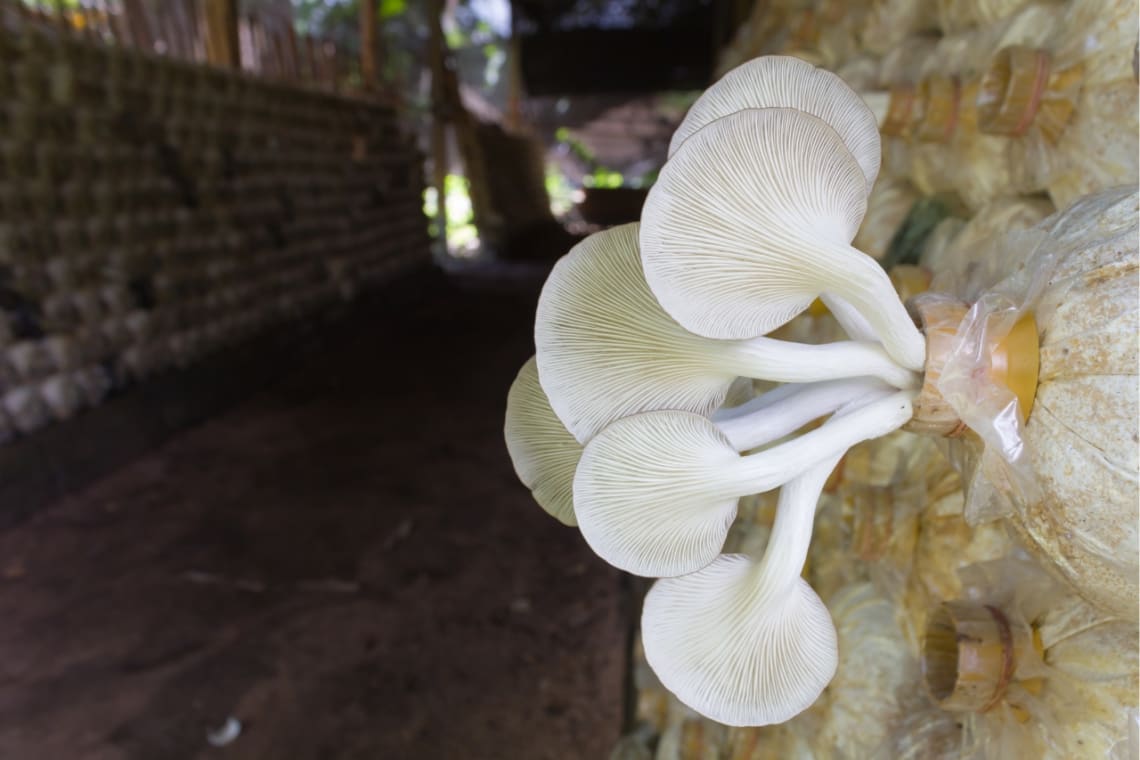
Mushrooms are like Goldilocks; they need conditions to be just right. That's where temperature and humidity control come into play.
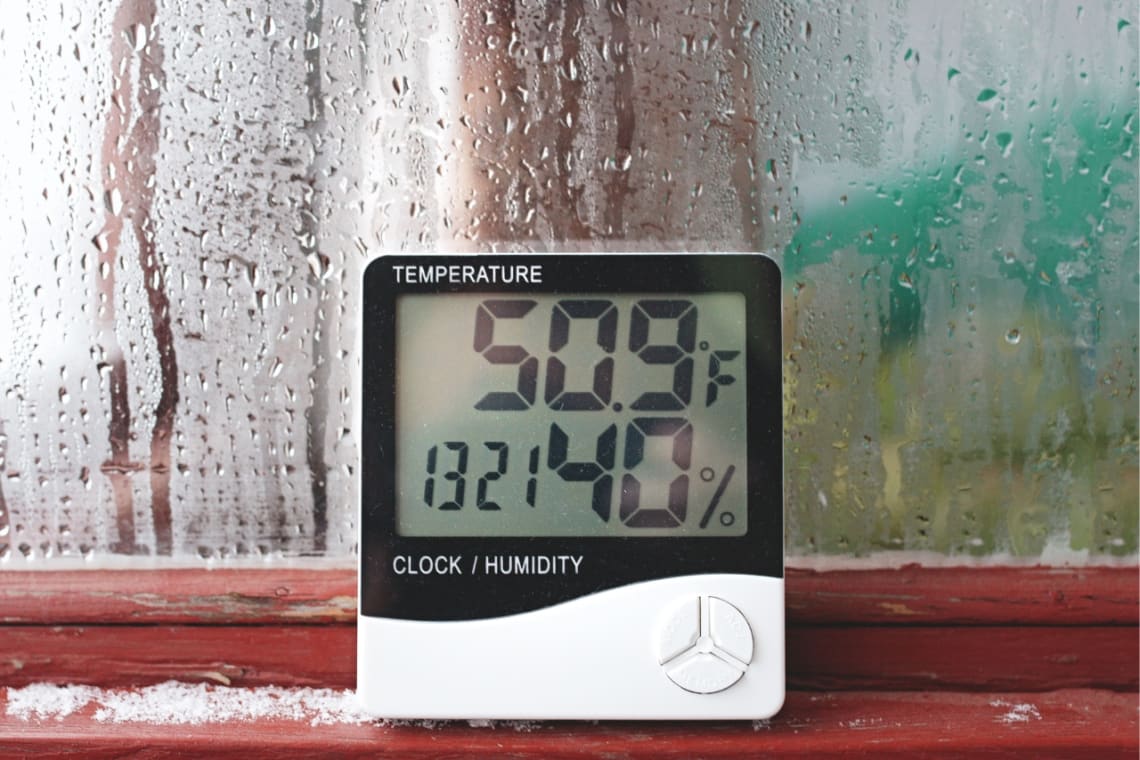
The ideal temperature for mushroom growth is usually within the range of 55-75°F (12-24°C), so it's important to keep temperatures in check. Too hot or too cold, your mushrooms might refuse to grow. A simple thermostat can help keep things under control.
Humidity is another key player here. Mushrooms contain about 90% water and therefore love high humidity levels of around 80%-95%. You could say that mushrooms are more divas than Goldilocks when it comes to their moisture needs. A good old-fashioned humidity controller will do the trick.
In order to manage these environmental factors effectively, continuous monitoring is essential because mushrooms don't take days off. And neither should your monitoring systems.
Remember, happy mushrooms mean a happy farmer and potentially more money in your pocket. So make sure to give them the TLC they need.
Cultivating mushrooms is not a process where you can simply set up and leave it be. You'll need to keep an eye on the entire life cycle, from inoculation right through to harvest. The key stages you'll want to monitor include spawning, pinning, and fruiting.
The spawning stage starts when you introduce your mushroom spores or mycelium into the substrate - their food source. This is where they will begin their growth journey. Just like planting seeds in soil for other plants.
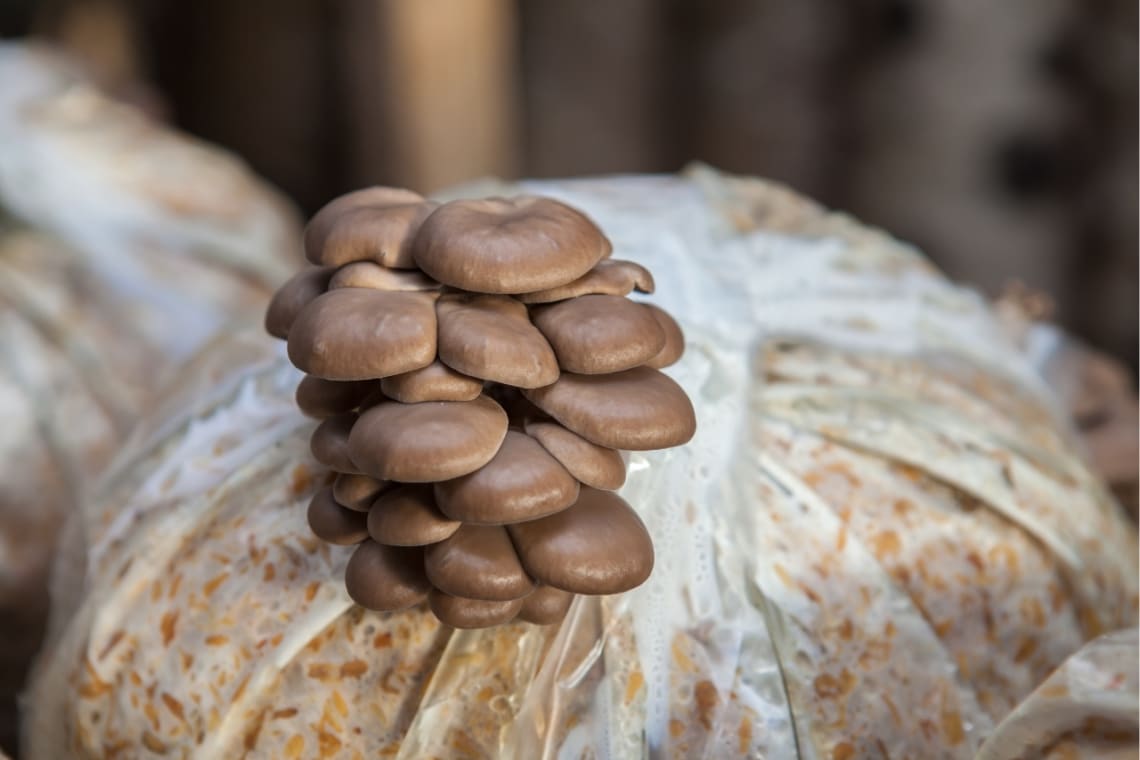
Next comes the pinning stage which can be compared with watching a baby bird crack its way out of an eggshell - it's that exciting. This happens when small mushroom formations (pins) start appearing on your substrate surface.
The final step is fruiting – this is what we've all been waiting for. It’s akin to apple trees bearing apples after months of patient nurturing. When pins grow larger and mature into fully-formed mushrooms, congratulations: you're now at the harvesting phase.
Growing mushrooms can seem mysterious because unlike regular garden vegetables, they don't sprout from seeds but rather from microscopic spores often invisible to our naked eyes.
But remember folks: no two types are exactly alike so these tips might vary based on the mushroom variety you've chosen to cultivate. It's always a good idea to research specifics for your chosen type.
It might sound complicated, but it’s not. Once you get into the rhythm of things, monitoring these stages becomes second nature - kind of like how expert bakers can tell when their bread is perfectly baked just by looking at it.
Just like you wouldn't let bugs crash a picnic, you don't want pests or diseases invading your fungi fest. But don't fret. There are practical steps to ensure that unwelcome guests stay out of the party.
The first step is good hygiene practice - think of it as keeping the 'house' clean for your mushrooms. Fungi Ally, an authority on all things mycological, emphasizes how critical cleanliness is when handling substrate and spawn. Regular cleaning can help prevent unwanted microorganisms from establishing a foothold.
Pest control measures are equally important because insects love munching on mushrooms too. An effective way to keep them at bay involves natural deterrents such as garlic spray or diatomaceous earth, which doesn’t harm your crop but does deter creepy crawlies.
Maintaining proper airflow can also be key in preventing mold growth and other contaminants - just imagine trying to breathe if someone put a giant plastic bag over your house; not ideal right? So make sure there's enough ventilation for healthy mushroom development while limiting opportunities for airborne spores and bacteria to invade.
In this battle against contamination, knowledge truly becomes power (or should we say, spore power?). Recognizing signs of infection early can help nip problems in the bud. Signs to look out for include unusual color changes, bad odors, or slimy textures on your mushrooms.
Reaping the mushrooms when they're at their peak is essential for getting the most flavor, consistency, and nourishment. Wait until they've fully matured but not yet started to release spores - a sign of this is when the mushroom's cap has flattened out.
You'll need gentle hands for harvesting. Grab them by the base and twist lightly so as not to damage the mycelium beneath, which can yield more crops in future.
Post-harvest care plays an equally crucial role in maintaining quality. Make sure you cool down harvested mushrooms quickly because high temperatures can cause spoilage. The best way? Pop them into your refrigerator within two hours of picking.
Mushrooms are mostly water, so keeping them dry helps extend their shelf life too. Avoid washing unless absolutely necessary - brushing off any dirt with a soft cloth or paper towel works just fine most times. But if you do wash them, ensure it’s right before using or cooking.
Proper storage techniques, like placing fresh mushrooms in brown paper bags inside your fridge (not plastic ones), also help prevent moisture buildup that leads to rapid decay.
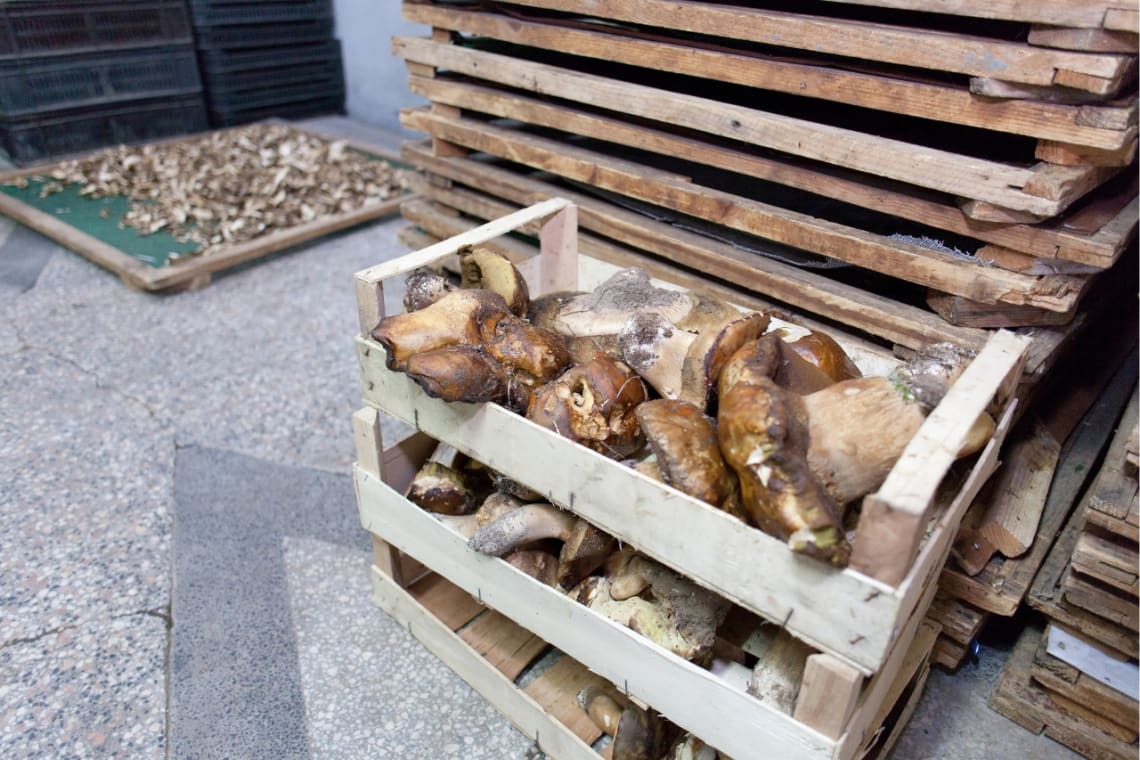
Drying offers another effective method for longer-term preservation beyond refrigeration limits (upwards of six months even). You could use food dehydrators for this purpose or even air drying methods during warmer months.
If you've ever asked yourself the question "Can I freeze my mushrooms?", well, yes you can. Blanch them first though - this process helps maintain their flavor and texture when frozen. Remember: thawed mushrooms are best used in cooked dishes rather than raw preparations due to texture changes during freezing/thawing cycles.
In short, treat your harvested 'shrooms with care because they deserve it after all that hard work.
Ever thought of combining your passion for travel with the opportunity to learn new skills and contribute to sustainable farming? Well, it's time you considered volunteering at a mushroom farm through Worldpackers. This unique experience not only gives you hands-on knowledge about starting and running a mushroom farm but also supports local economies. Let’s delve into what this entails.
By doing a farm exchange via Worldpackers platform, you'll get first-hand exposure in all these areas while supporting small-scale farmers who are committed towards sustainable practices. You will have the chance to work alongside experienced mycologists (mushroom experts) who can guide you through every step involved in mushroom farming.
Beyond just learning technical aspects involved in cultivating fungi though – being part of such community projects provides valuable insights into how food production systems operate globally & locally too! Plus there’s nothing quite like taste-testing fresh homegrown produce straight off field!
This adventure doesn't stop with acquiring practical skills either! Being part of Worldpacker's volunteer network means meeting fellow travelers from around the globe sharing experiences and making lifelong friends. You also get to immerse yourself in local cultures, explore hidden gems of the region and experience life from a fresh perspective.
And on top of all that, you get free accommodation too in exchange for your precious help! This means that you can travel on a budget around the world as a volunteer, as there are opportunities in more than 140 countries in a wide variety of positions, not only farm related.
Learn more: What is a work exchange and how does it work? and Working on a farm: a guide on how and where to find opportunities.
These are some examples of volunteering opportunities in mushroom farms:

Did you like these ideas? Subscribe to the Worldpackers Community for free and start saving your favorite volunteer positions until you are ready to get verified.
Write here your questions and greetings to the author